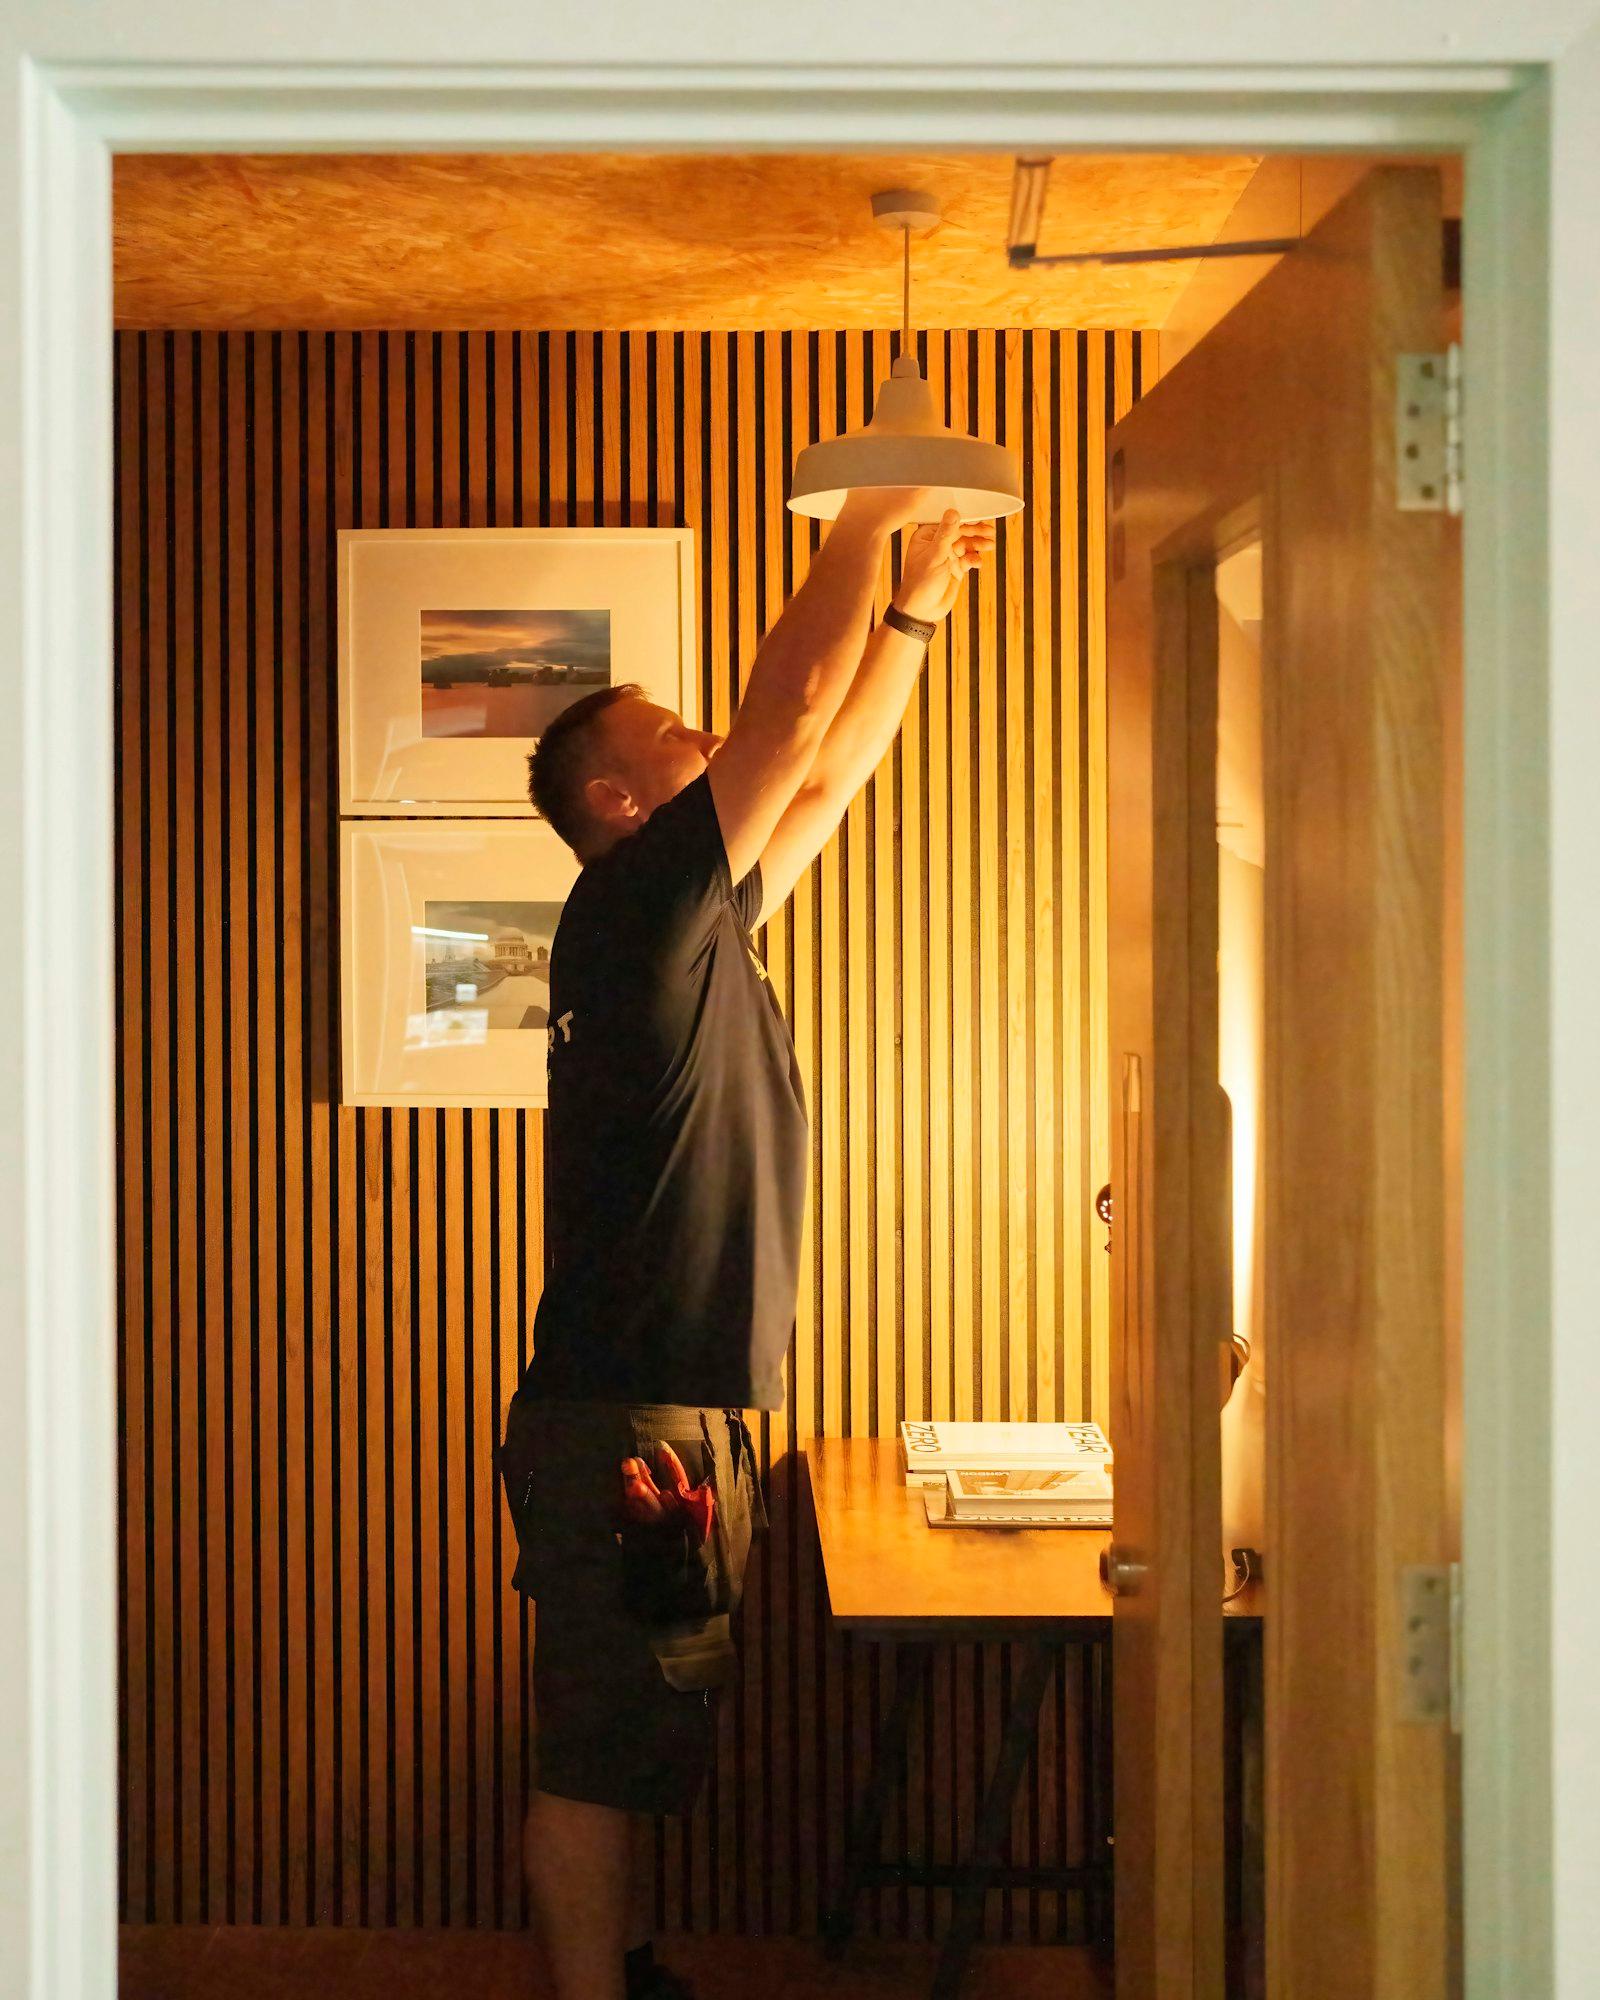
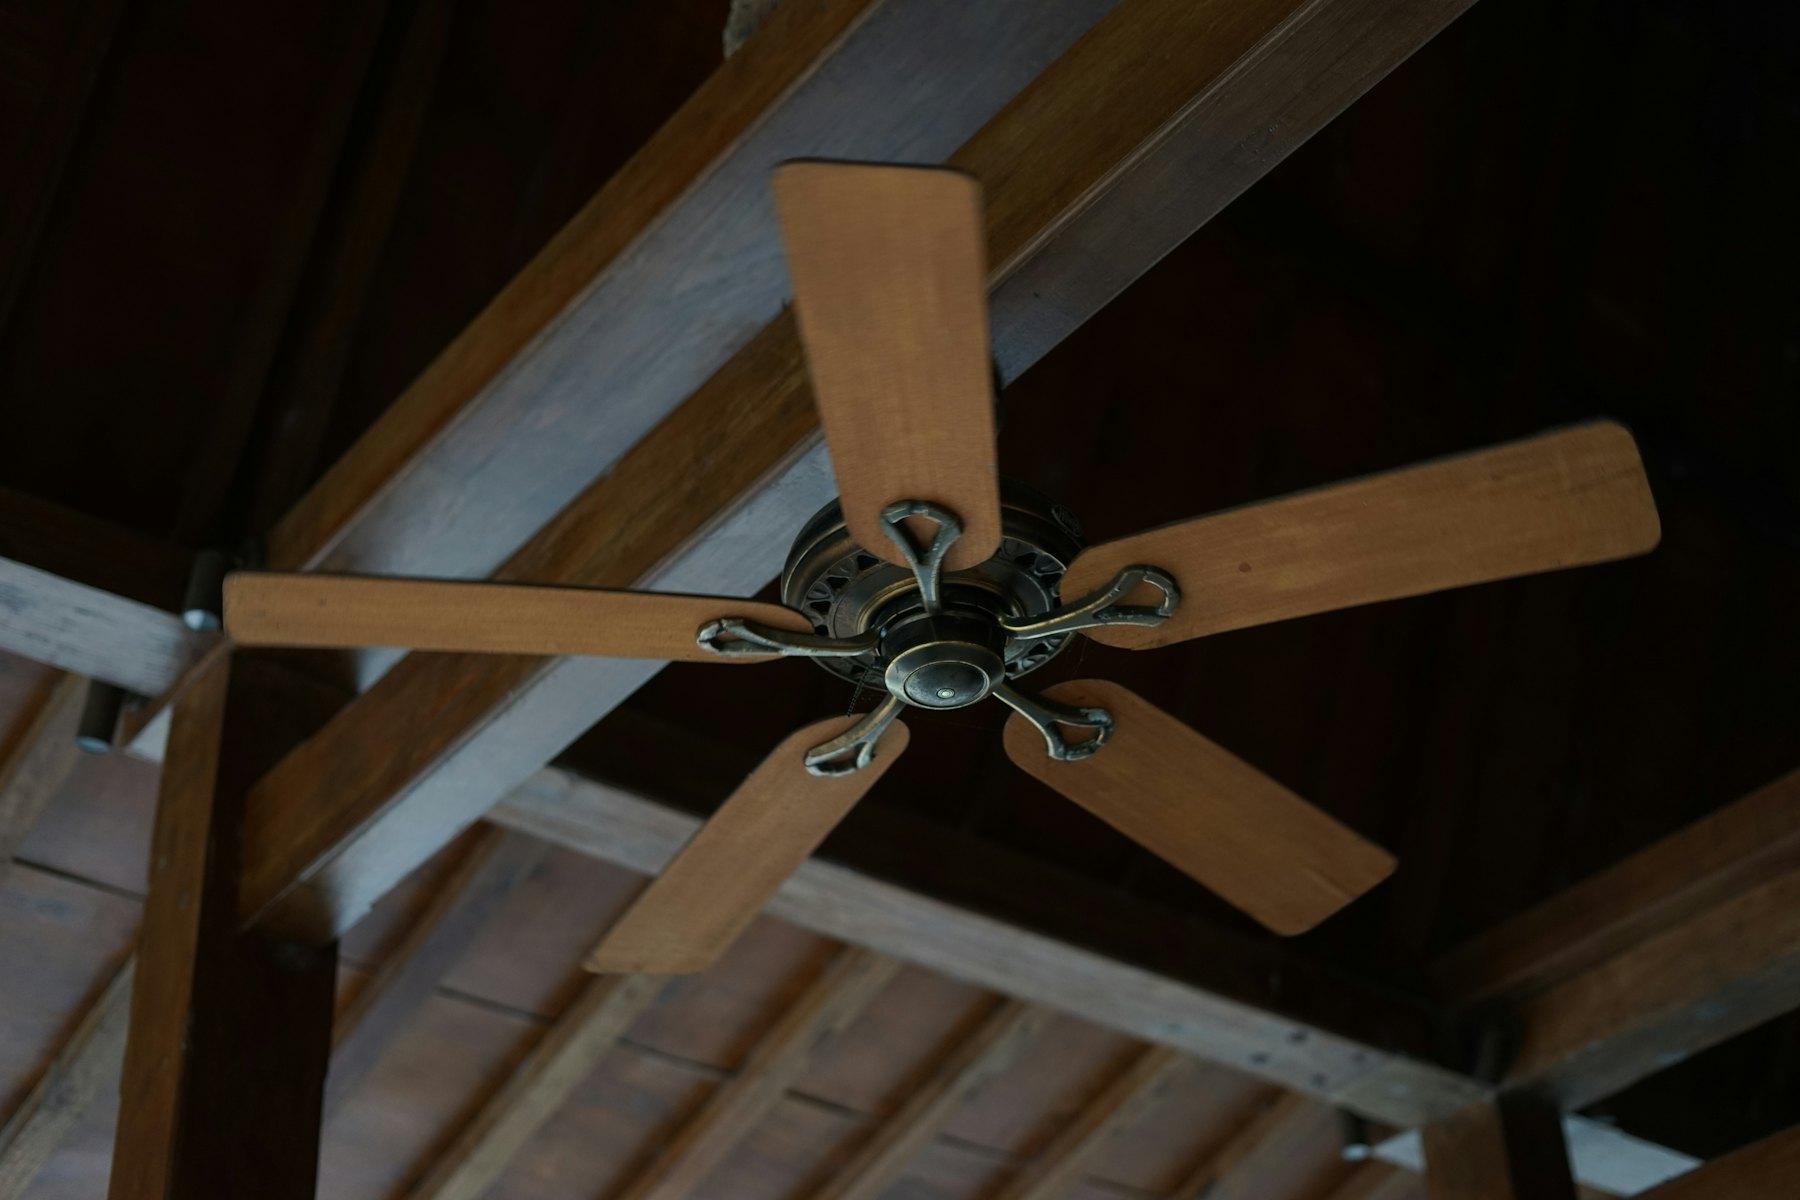
Installing a ceiling fan is a fantastic way to enhance any room’s style and comfort. Whether you’re looking to improve airflow, add lighting, or upgrade your home’s aesthetic, this step-by-step guide will show you how to install a ceiling fan easily. These instructions are perfect for DIY enthusiasts, from handling existing wiring to ensuring your fan is securely in place.
How hard is it to install a ceiling fan?
Before starting, you might wonder, “How hard is it to install a ceiling fan?” The difficulty level depends on your experience with electrical work and whether you’re replacing an existing fan or installing one from scratch. This project is straightforward if you’re comfortable with basic wiring and have a sturdy support structure in your ceiling. However, if you’re unsure, consult a professional to avoid potential safety hazards.
Tools and materials needed
- Ceiling fan kit
- Ladder
- Screwdrivers (Phillips and flathead)
- Wire stripper/cutter
- Voltage tester
- Electrical tape
- Pliers
How to install a ceiling fan with existing wiring
The existing wiring simplifies the process of replacing an old fan or light fixture. Here’s a step-by-step guide on how to install a ceiling fan with existing wiring:
Step 1: Turn off the power at the circuit breaker
- 1Locate the Circuit BreakerFind the correct breaker that controls the power to the room where you’ll install the fan and switch it off.
- 2Double-check the PowerUse a voltage tester to ensure no electricity flows to the existing fixture.
Step 2: Remove the existing fixture
- 1Unscrew and Lower the FixtureCarefully remove any screws or bolts holding the old fixture in place. Lower the fixture gently and disconnect the wiring.
- 2Inspect the Electrical BoxEnsure the ceiling box is rated for fan support. If necessary, replace it with one designed for ceiling fans.
Step 3: Assemble the ceiling fan
- 1Follow the Manufacturer’s InstructionsEach ceiling fan differs, so follow the specific assembly instructions in your kit.
- 2Attach the Mounting BracketSecure the mounting bracket to the electrical box with screws, making sure it is tightly fastened.
Step 4: Wire the ceiling fan
- 1Connect the WiresMatch the ceiling wires with the fan’s wiring using wire connectors. Typically, black or blue wires connect to the black house wire (fan power), the white wire connects to the white house wire (neutral), and the green or bare copper wire connects to the ground wire.
- 2Secure the ConnectionsUse electrical tape to wrap the wire connectors, ensuring the wires are securely connected.
Step 5: Attach the fan and blades
- 1Mount the Fan MotorCarefully lift the fan motor and attach it to the mounting bracket. Secure all screws to ensure the fan is tightly mounted.
- 2Install the Fan BladesAttach the fan blades to the motor with the screws provided, ensuring each blade is securely fastened.
- 3Add Any Light KitsIf your ceiling fan comes with a light kit, attach it according to the manufacturer’s instructions.
Final checks and testing
Turn on the power
Once the fan is fully assembled and installed, return to the circuit breaker and restore power to the room. Test the fan and light (if applicable) to ensure everything works correctly.
Safety tip
If the fan wobbles or makes noise, turn off the power and double-check all screws and connections.
Conclusion
By following these simple steps, you’ve successfully installed a ceiling fan! Whether upgrading an old fan or installing a new one, this DIY project can enhance your home’s comfort and style. Remember, if you’re not confident installing a ceiling fan safely, don’t hesitate to consult a professional.
Need help with your ceiling fan installation? Book now with Switch Your Fixture, and let our experts handle everything. Enjoy a smooth, hassle-free installation and peace of mind knowing the job is done right!
Skip the ladder
Rather not do it yourself?
$159 service call with the first hour included. Fans are in our “under 2 hours” group.