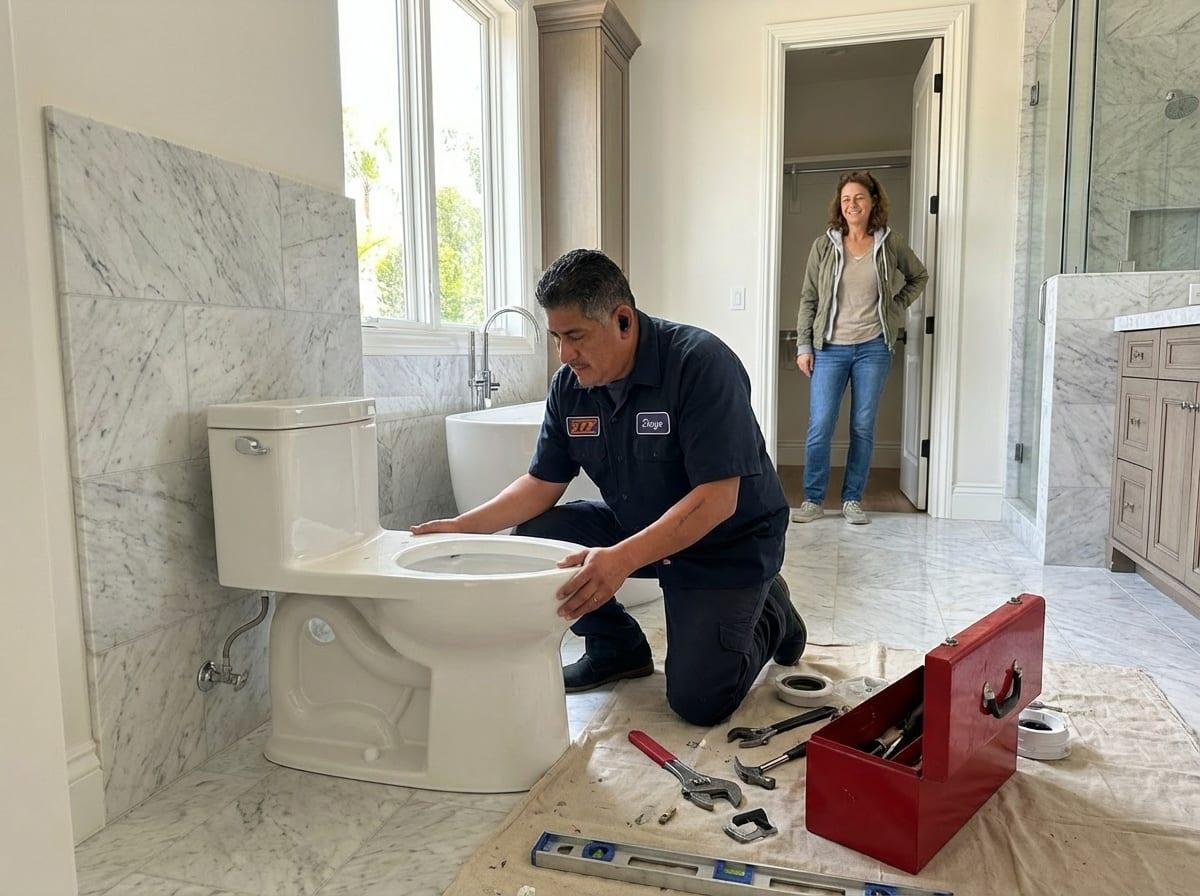
Installing a toilet may seem daunting, but it can be a manageable DIY project with the proper instructions and tools. Whether replacing an old toilet or installing a new one, this guide provides step-by-step instructions to help you finish the job. Perfect for homeowners and DIY enthusiasts alike, follow along to confidently complete your toilet installation.
How much to install a new toilet?
Before starting, it helps to know what professional installation costs. At Switch Your Fixture, toilet installation is billed like every other job: a $159 service call that includes the first hour of labor, then $159 per hour billed in 15-minute increments of $39.75. Toilets typically take under two hours. By following this guide, you can also save on labor costs and enjoy the satisfaction of completing the project yourself.
Tools and materials needed
- New toilet and wax ring
- Adjustable wrench
- Screwdriver
- Plumber’s putty or silicone caulk
- Sponge or towels
- Rubber gloves
- Bucket
How to remove and install a toilet
If you’re replacing an existing toilet, remove the old one and prepare the space for the new installation.
Step 1: Turn off the water supply
- 1Locate the Shut-Off ValveLocate the shut-off valve behind the toilet and turn it clockwise to stop the water flow.
- 2Drain the ToiletFlush the toilet to drain as much water as possible. Use a sponge or towel to soak up any remaining water in the tank and bowl.
Step 2: Remove the old toilet
- 1Disconnect the Water Supply LineUse an adjustable wrench to loosen the nut connecting the water supply line to the toilet tank. Place a bucket beneath to catch any residual water.
- 2Unscrew the BoltsUse a wrench to remove the bolts securing the toilet to the floor. Gently rock the toilet to break the seal of the old wax ring.
- 3Lift and Remove the ToiletCarefully lift the toilet off the floor and set it aside on an old towel or cardboard.
Step 3: Prepare for the new toilet
- 1Clean the FlangeScrape away the old wax ring from the toilet flange on the floor and clean the area thoroughly.
- 2Inspect the FlangeCheck for any damage to the flange. Consider replacing it for a secure fit if it’s cracked or worn.
- 3Place the New Wax RingSet a new wax ring on the flange or the bottom of the new toilet (follow the manufacturer’s instructions for placement).
Step 4: Install the new toilet
- 1Position the ToiletCarefully lower the toilet onto the flange, aligning the bolt holes. Press down firmly to create a watertight seal with the wax ring.
- 2Secure the ToiletTighten the bolts with a wrench, alternating sides to ensure even pressure. Be careful not to overtighten to avoid cracking the porcelain.
- 3Reconnect the Water SupplyAttach the water supply line to the toilet tank and tighten the nut securely.
Step 5: Test the toilet
- 1Turn On the WaterSlowly turn the shut-off valve counterclockwise to restore water flow to the toilet.
- 2Check for LeaksFlush the toilet several times to ensure it’s working correctly, and check for leaks around the base and supply line.
Finishing touches
- Seal the Base: Apply a thin bead of silicone caulk around the toilet’s base for a finished look and to prevent water from seeping underneath.
- Install the Toilet Seat: Follow the manufacturer’s instructions to install the toilet seat onto the bowl.
Conclusion
Congratulations! You’ve successfully installed a new toilet. This DIY project can save you money and give you the satisfaction of improving your home’s functionality. Remember, you can consult a professional if you have any questions or run into issues.
Do you prefer professional help for your toilet installation? Book now with Switch Your Fixture and let our experts handle it. Enjoy peace of mind with a secure, hassle-free installation!
Skip the ladder
Rather not do it yourself?
$159 service call with the first hour included. Toilets are in our “under 2 hours” group.