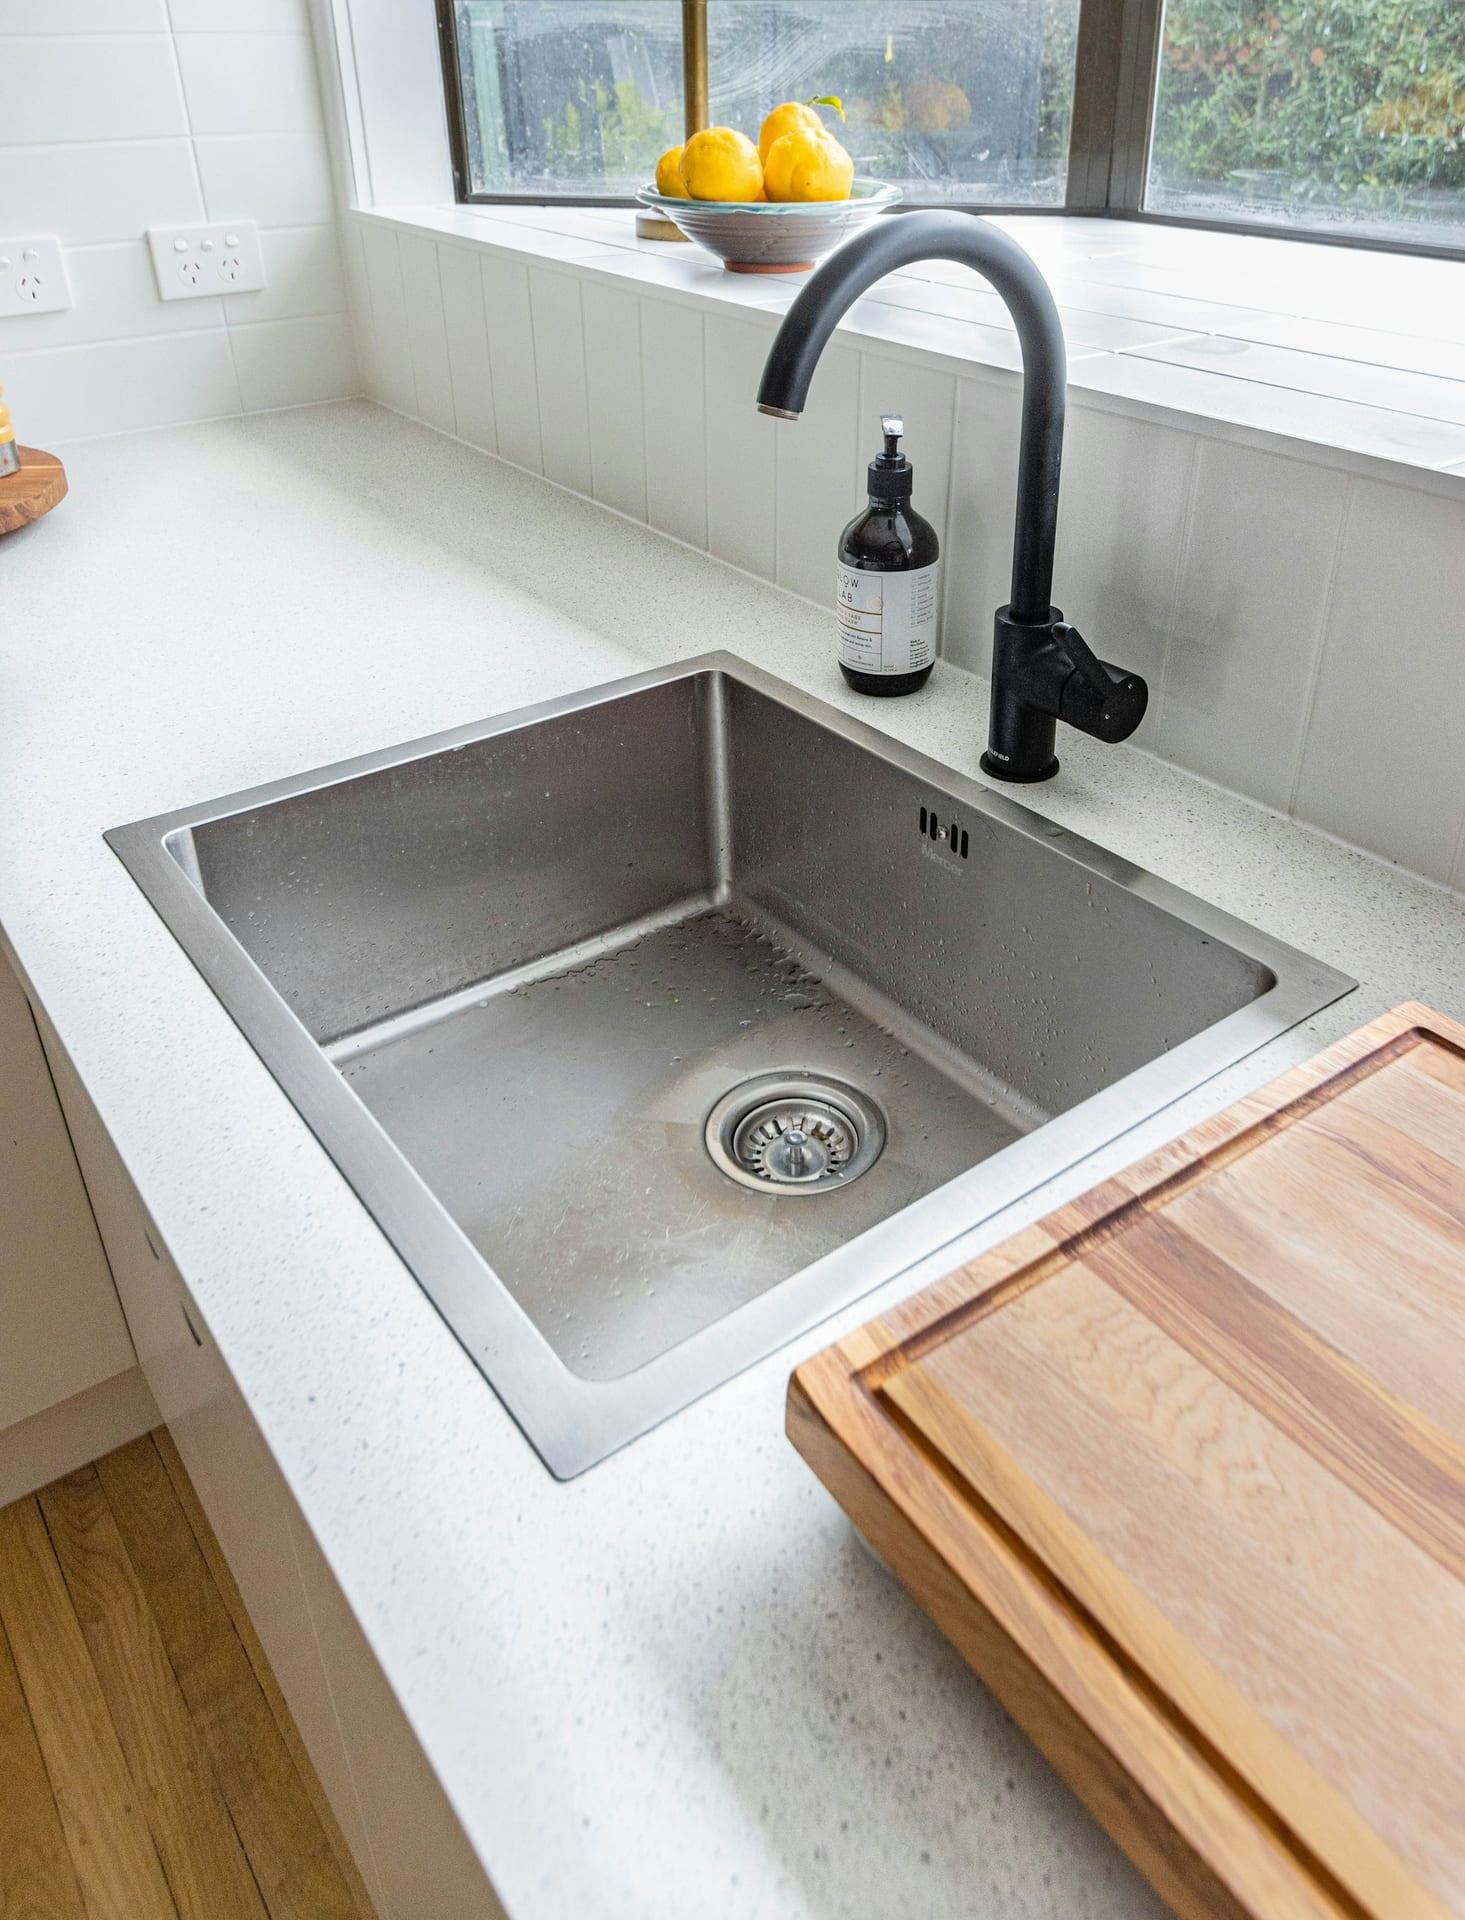
Installing a new faucet is a simple yet impactful way to refresh your kitchen or bathroom. Whether upgrading an old faucet or installing one in a new location, this step-by-step guide will help you complete the project efficiently. Perfect for DIY enthusiasts, these instructions cover the basics of faucet installation, allowing you to enhance the functionality and style of your home.
How to install a faucet: getting started
Before you begin, ensure you have all the necessary tools and materials. Also, always turn off the water supply before installing it to avoid leaks or damage.
Tools and materials needed
- New faucet (kitchen or bathroom)
- Adjustable wrench
- Basin wrench
- Plumber’s putty
- Teflon tape
- Bucket or towel (for catching water)
- Screwdriver
- Flashlight (if needed for tight spaces)
Faucet installation: step-by-step guide
Whether you’re installing a kitchen or bathroom faucet, the following steps will guide you through the process.
Step 1: Turn off the water supply
- 1Locate the Shutoff ValvesFind the water shutoff valves under the sink. Turn them clockwise to shut off both the hot and cold water supplies.
- 2Test the FaucetOpen the existing faucet to ensure the water is completely off.
Step 2: Disconnect the old faucet
- 1Unscrew the Water Supply LinesUse an adjustable wrench to disconnect the hot and cold water supply lines from the faucet.
- 2Remove the FaucetUse a basin wrench to unscrew the mounting nuts under the sink that hold the faucet in place. Carefully lift the old faucet out.
Step 3: Prepare the sink for the new faucet
- 1Clean the AreaRemove any old putty or residue from the sink’s surface where the faucet will be installed.
- 2Apply Plumber’s PuttyRoll the plumber’s putty into a thin rope and apply it around the base of the new faucet to create a watertight seal.
Step 4: Install the new faucet
- 1Position the FaucetPlace the new faucet into the mounting holes on the sink or countertop.
- 2Secure the FaucetFrom underneath the sink, tighten the mounting nuts with a basin wrench. Make sure the faucet is positioned correctly and secured firmly.
Step 5: Connect the water supply lines
- 1Attach the Supply LinesConnect the hot and cold water supply lines to the corresponding inlet valves on the new faucet. Hand-tighten them, then use an adjustable wrench to give them a final turn. Be careful not to overtighten.
- 2Use Teflon TapeWrap the threads of the connections with Teflon tape to ensure a leak-free fit.
Step 6: Test the faucet
- 1Turn On the Water SupplySlowly turn the water supply valves back on.
- 2Check for LeaksOpen the faucet and let the water run for a few minutes. Check under the sink for any leaks around the supply lines or faucet base.
Conclusion
Congratulations! You’ve successfully installed your new faucet. Whether in your kitchen or bathroom, this simple upgrade can enhance the appearance and functionality of your home. Installing a faucet is a great DIY project, but if you’re unsure about any step, consider consulting a professional.
Need further assistance with your faucet installation? Book now with Switch Your Fixture, and let our experts provide professional guidance or handle the installation. Enjoy a hassle-free installation and a stylish new faucet in your home!
Skip the ladder
Rather not do it yourself?
$159 service call with the first hour included. Faucets are in our “about 1 hour or less” group.