Installing a doorbell is a simple yet effective way to enhance your home’s security and convenience. Whether installing a traditional wired doorbell or a modern intelligent doorbell like a Ring, this guide will provide step-by-step instructions to complete the project confidently. Follow along to learn how to install a doorbell and upgrade your home today.
How to install a doorbell: the basics
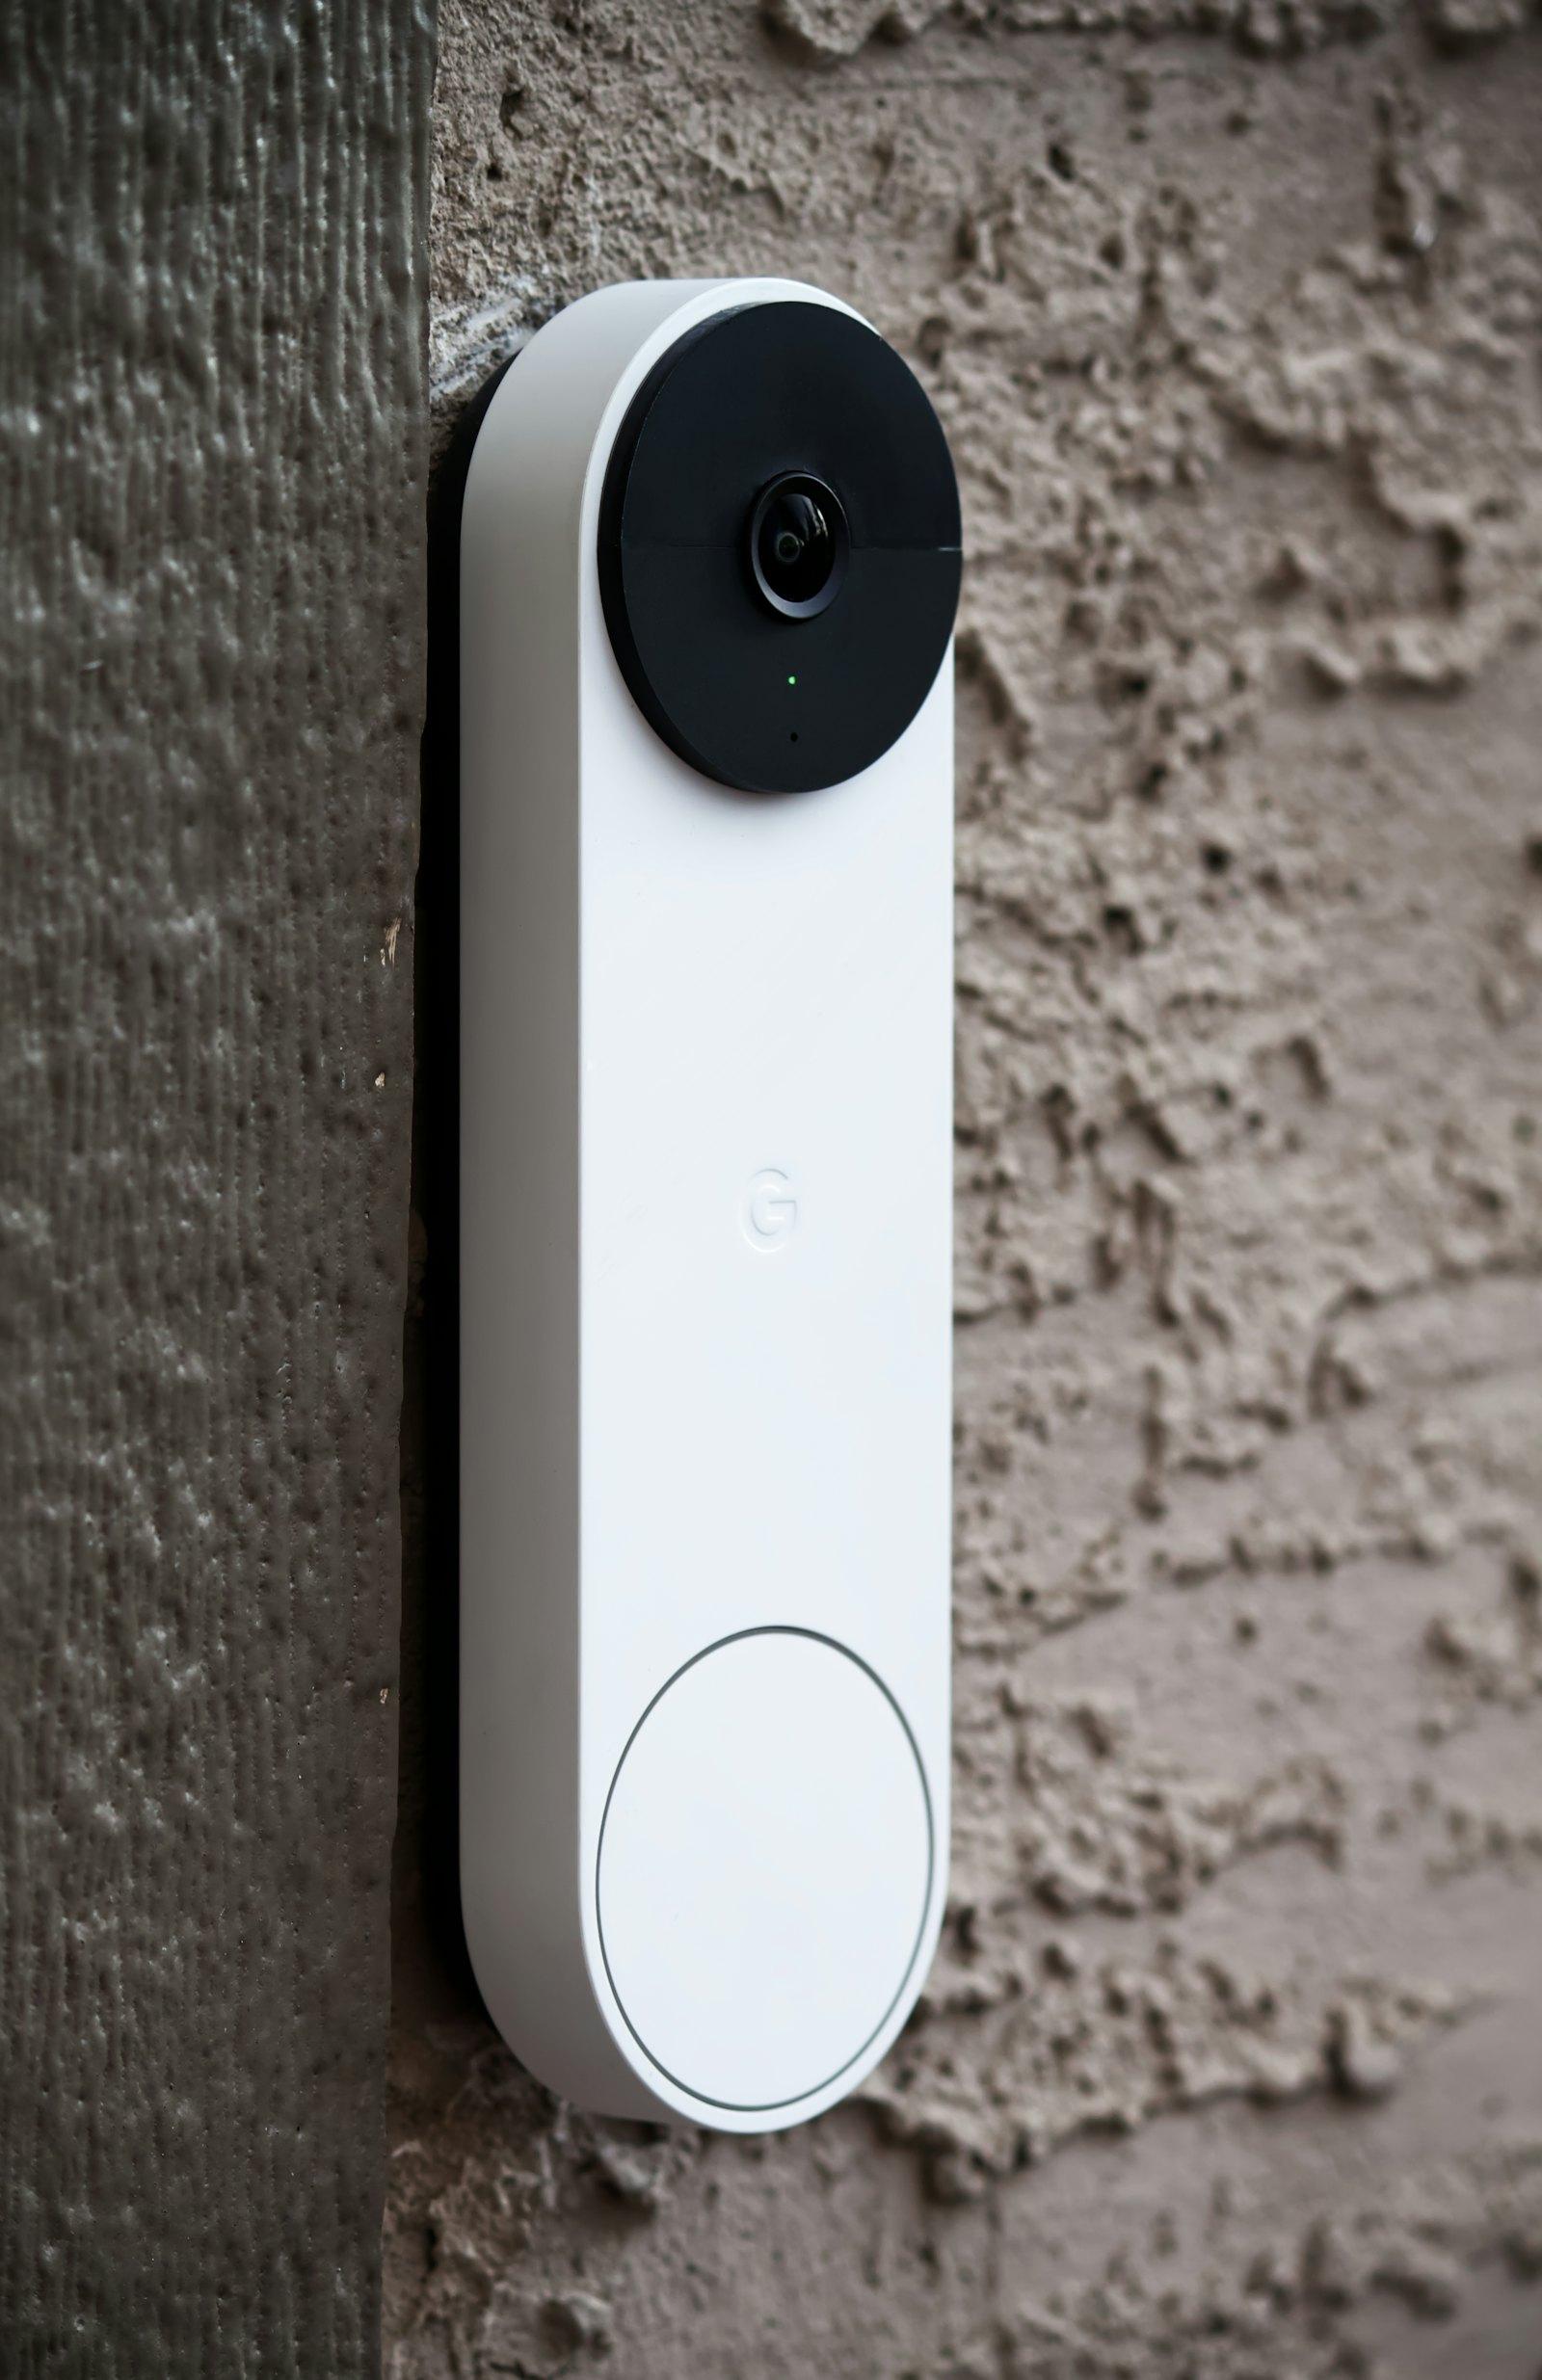
Installing a doorbell can be straightforward if you have the right tools and follow the proper steps. In this guide, we’ll cover how to install a traditional wired doorbell and a smart doorbell, such as a Ring doorbell.
Tools and materials needed
- New doorbell kit
- Screwdriver (Phillips and flathead)
- Power drill with appropriate bits
- Wire stripper/cutter
- Voltage tester
- Electrical tape
- Level
- Anchors and screws (if not included in the kit)
How to install a Ring doorbell
If you’re installing a smart doorbell like a Ring, here’s how you can do it:
Step 1: Charge the doorbell
- 1Charge the BatteryIf your Ring doorbell is battery-operated, fully charge the battery before starting the installation. This can take several hours, so plan accordingly.
Step 2: Turn off power
- 1Locate the Circuit BreakerTurn off the power to your doorbell at the circuit breaker for wired installations to ensure safety.
- 2Test for PowerUse a voltage tester to confirm no power is running to the existing doorbell.
Step 3: Remove the old doorbell
- 1Remove the FaceplateUnscrew and remove the faceplate of the old doorbell.
- 2Disconnect the WiresCarefully disconnect the wires from the old doorbell. It’s a good idea to tape the wires to the wall so they don’t fall back inside.
Step 4: Install the mounting bracket
- 1Mark the Drill HolesPosition the mounting bracket for the Ring doorbell on the wall or door frame. Use a pencil to mark the locations for the screws.
- 2Drill HolesUse a drill to create holes for the screws. If you’re installing on brick, stucco, or concrete, you may need to use the provided anchors.
- 3Attach the Mounting BracketSecure the bracket to the wall using the screws provided in your Ring doorbell kit.
Step 5: Connect the doorbell
- 1Connect the WiresAttach the existing doorbell wires to the screws on the back of the Ring doorbell. If installing a battery-powered model, skip this step.
- 2Mount the DoorbellAlign the doorbell with the mounting bracket and secure it according to the manufacturer’s instructions.
Step 6: Set up your doorbell
- 1Restore PowerTurn the power back on at the circuit breaker if you’re installing a wired model.
- 2Complete the SetupFollow the Ring app’s instructions to connect your doorbell to your Wi-Fi network and complete the setup.
How to install a wired Ring doorbell
If you prefer a wired installation, here’s a quick guide on how to install a wired Ring doorbell:
Step 1: Turn off the power and remove the old doorbell
- 1Turn Off the PowerTurn off the power to the doorbell at the circuit breaker.
- 2Remove Old DoorbellRemove the old doorbell and disconnect the wires, as detailed above.
Step 2: Install the mounting bracket
- 1Install the BracketFollow the steps above to install the mounting bracket for the wired Ring doorbell.
Step 3: Connect the doorbell to your existing doorbell system
- 1Connect WiresAttach the existing wires to the terminals on the back of the doorbell.
- 2Mount the DoorbellSecure the doorbell to the mounting bracket.
Step 4: Test your doorbell
- 1Restore PowerTurn the power back on and test the doorbell to ensure it’s working correctly.
Conclusion
By following these step-by-step instructions, you’ve successfully installed your new doorbell! Whether you choose a traditional model or an intelligent option like the Ring, this upgrade enhances your home’s security and convenience. Always prioritize safety when working with electrical components, and consult a professional if you’re unsure about any step.
Need further assistance with your doorbell installation? Book now with Switch Your Fixture for professional support and ensure your doorbell is installed correctly and securely. Let us help you effortlessly enhance your home’s security!
Skip the ladder
Rather not do it yourself?
$159 service call with the first hour included. Wireless cameras are in our “about 1 hour or less” group.