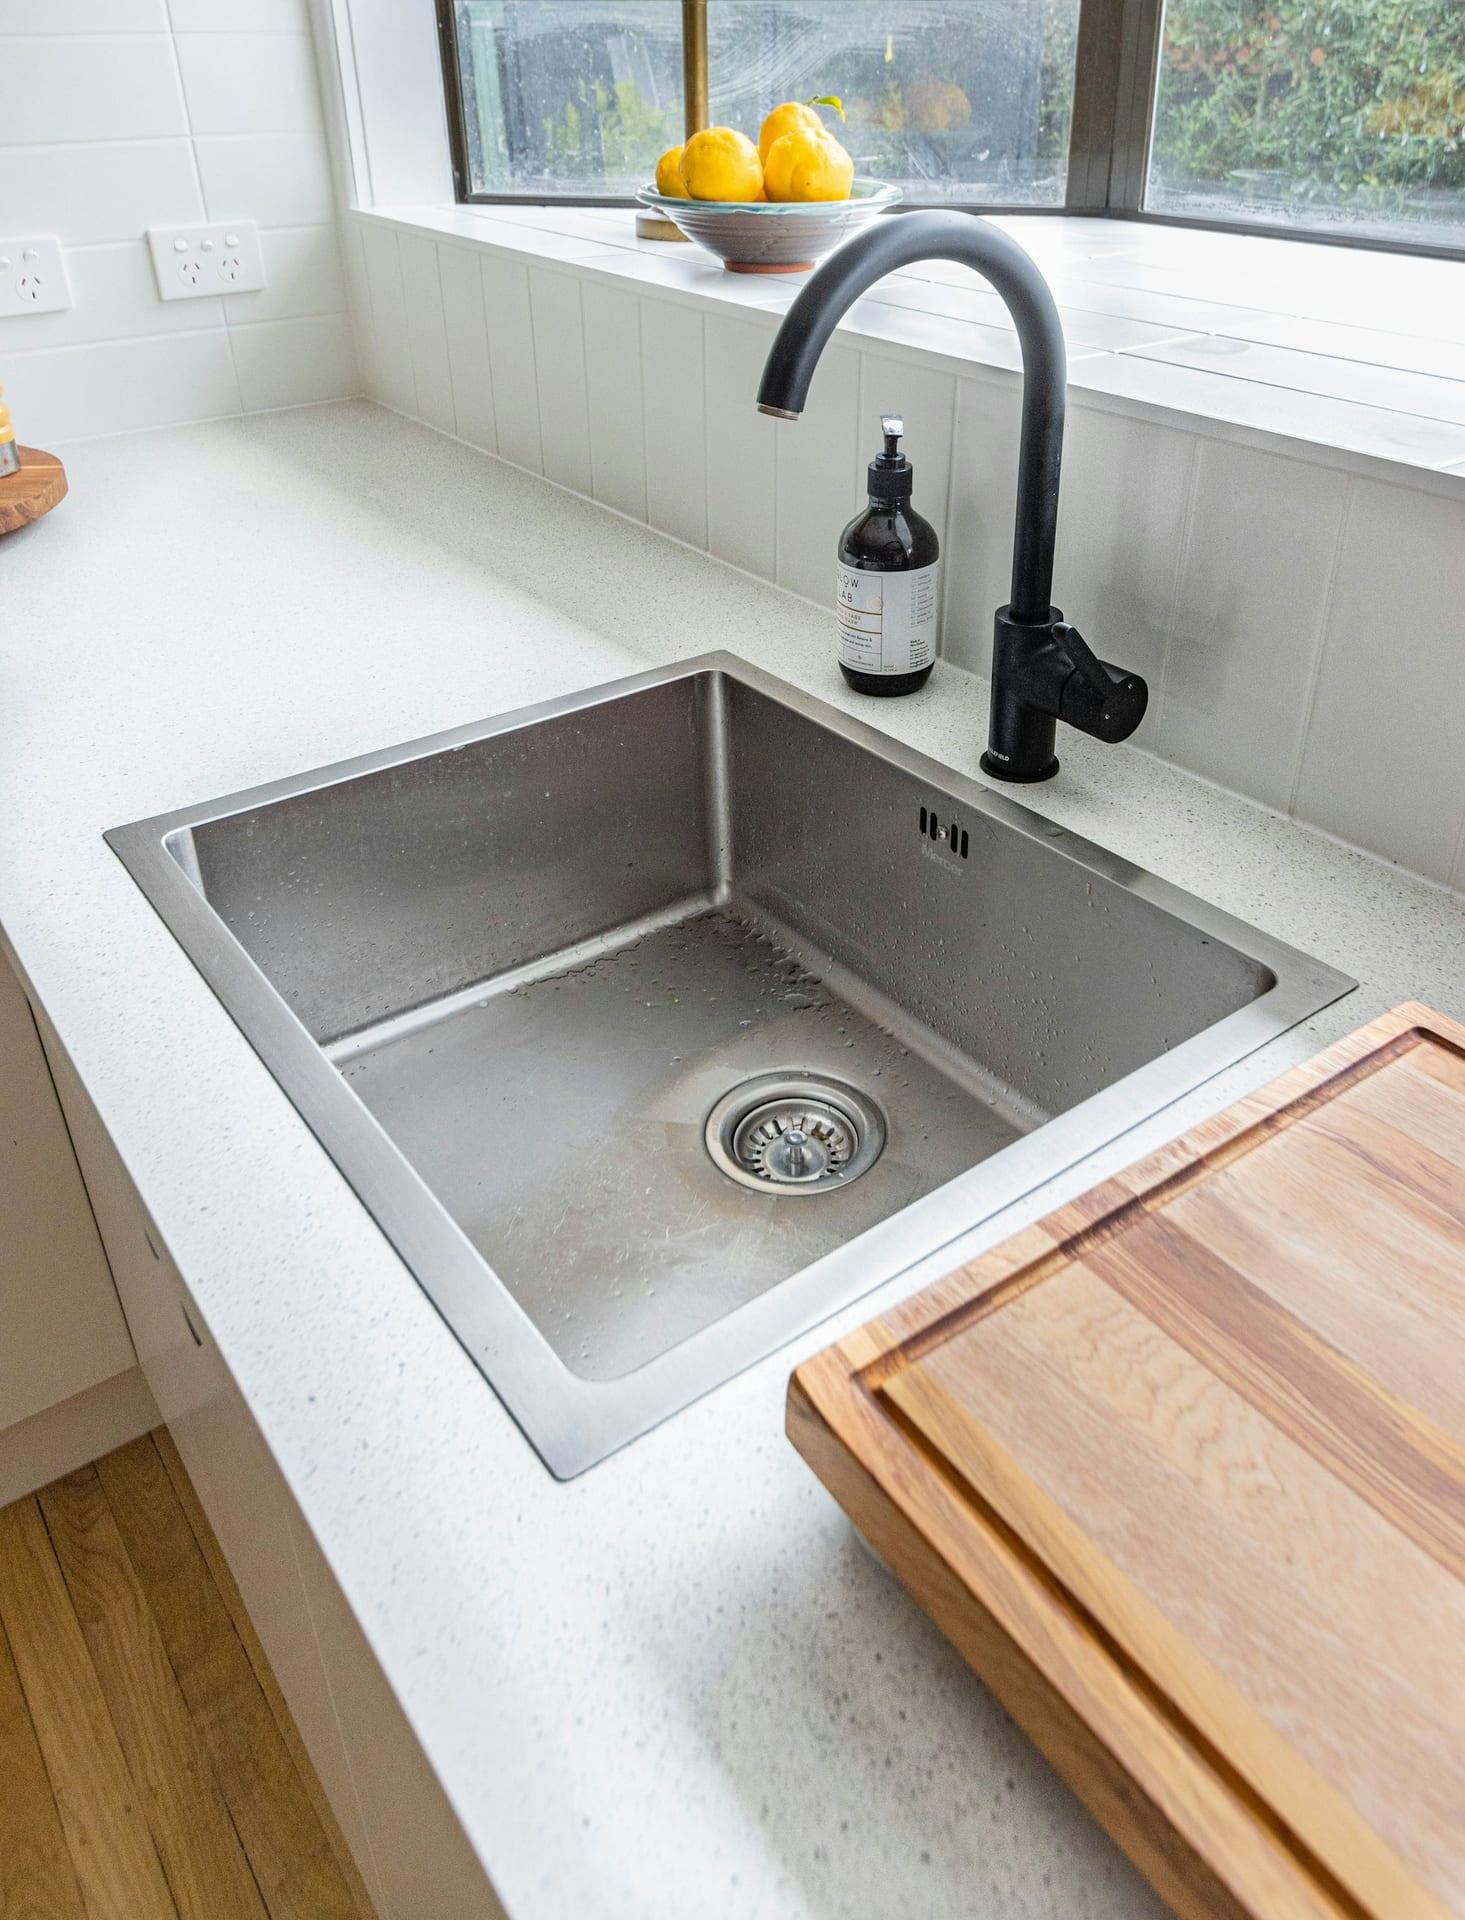
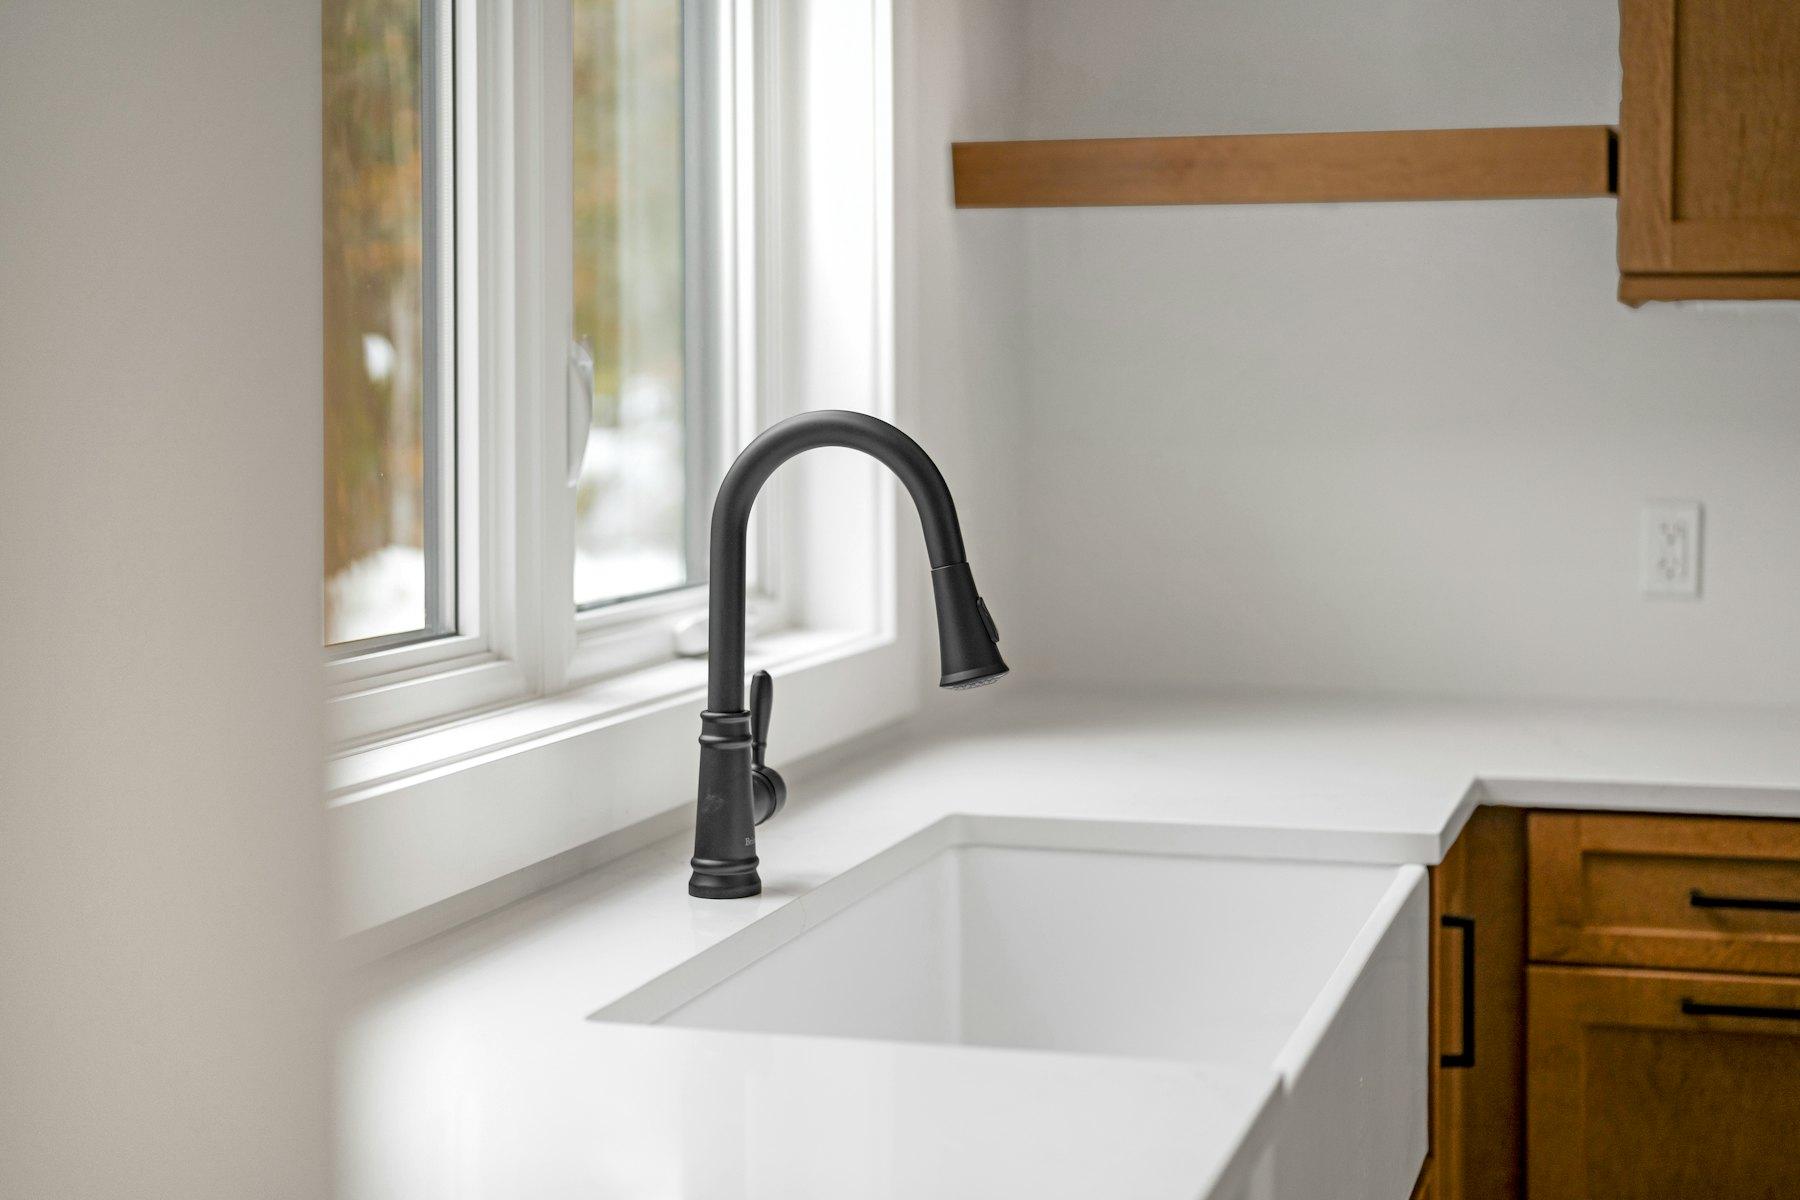
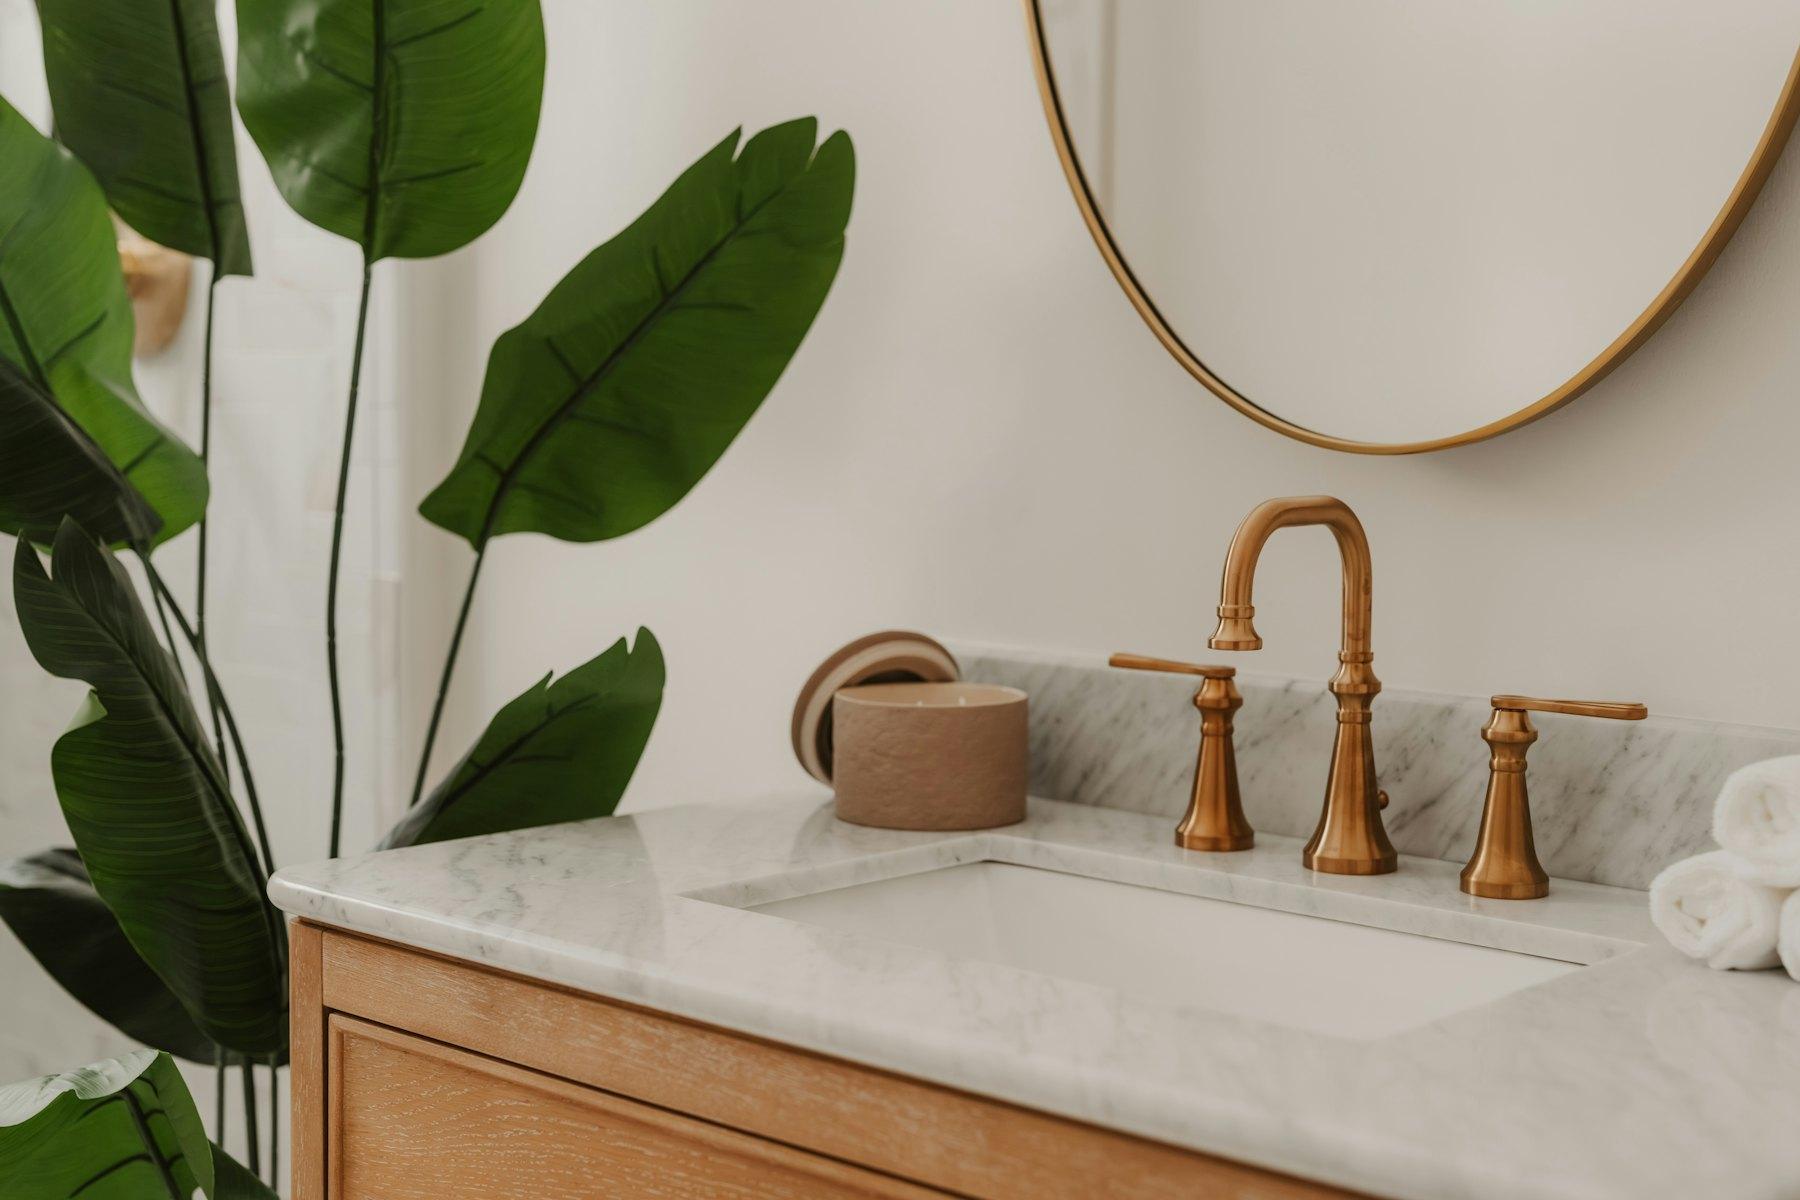
Installing a sink is one of the most essential upgrades you can make in your kitchen. Whether replacing an old sink or installing a new one, this guide will provide step-by-step instructions on installing various sinks, including farmhouse, pedestal, drop-in, and vessel sinks. Follow this comprehensive guide to complete your DIY plumbing project and enhance your kitchen’s functionality and style.
How to install a sink: understanding the basics
Installing a new sink requires some basic plumbing skills and the right tools. Before starting, turn off the water supply and gather all necessary materials. If replacing an existing sink, carefully remove the old one before proceeding with the new installation.
Tools and materials needed
- New sink (farmhouse, pedestal, drop-in, or vessel)
- Adjustable wrench
- Plumber’s putty
- Pipe wrench
- Screwdrivers (flathead and Phillips)
- Silicone caulk
- Bucket
- Towels or sponges for cleanup
How to install a farmhouse sink
Farmhouse sinks are famous for their large, deep basins and stylish apron-front design. Here’s how to install one:
Step 1: Turn off the water supply and disconnect the plumbing
- 1Turn Off Water SupplyStart by turning off the water supply at the valves under the sink.
- 2Disconnect the PlumbingUse a wrench to disconnect the water supply lines and drain pipe. Place a bucket underneath to catch any water.
Step 2: Remove the old sink
- 1Remove the Old SinkCarefully remove the old sink by unscrewing it from the countertop or support brackets.
- 2Prepare the CabinetFarmhouse sinks are heavy, so ensure the cabinet has proper support. You may need to cut out a section of the countertop to fit the new sink.
Step 3: Install the farmhouse sink
- 1Fit the SinkPlace the farmhouse sink into the cabinet opening, ensuring it fits snugly. You may need to adjust the cabinet supports to accommodate the sink.
- 2Seal with Plumber’s PuttyApply the plumber’s putty around the edges of the sink to create a watertight seal between the sink and countertop.
Step 4: Reconnect the plumbing
- 1Connect the Drain and Water Supply LinesReconnect the plumbing under the sink, including the water supply lines and drainpipe.
- 2Test for LeaksTurn the water back on and test the connections to ensure no leaks.
How to install a pedestal sink
Pedestal sinks are commonly used in bathrooms but can also be a stylish addition to a kitchen. Here’s how to install one:
Step 1: Turn off the water and remove the old sink
- 1Turn Off Water SupplyTurn off the water supply at the valves.
- 2Remove Old SinkUnscrew and remove the old sink, then disconnect the plumbing.
Step 2: Prepare the wall and floor
- 1Check Wall SupportEnsure the wall is sturdy enough to support the weight of the pedestal sink. If needed, reinforce the wall with a backing board.
- 2Mark and Drill HolesMark where the sink and pedestal will attach to the wall and floor. Drill holes for the mounting brackets.
Step 3: Install the pedestal sink
- 1Attach the Sink BasinMount the sink basin to the wall using the provided brackets or screws.
- 2Place the PedestalPosition the pedestal under the sink for support and secure it to the floor.
Step 4: Connect plumbing and test
- 1Connect the Water Supply and DrainReconnect the plumbing, including the water supply lines and drain pipe.
- 2Test the SinkTurn on the water supply and test for any leaks.
How to install a drop-in sink
Drop-in or top-mount sinks are easy to install and fit into a hole cut into the countertop. Follow these steps to install a drop-in sink:
Step 1: Prepare the countertop
- 1Measure and Cut the HoleIf installing a new sink, cut a hole in the countertop that fits the sink. If replacing an old sink, ensure the new one fits the existing hole.
Step 2: Install the sink
- 1Apply Plumber’s PuttyApply a generous amount of plumber’s putty around the edges of the sink where it will meet the countertop.
- 2Drop in the SinkPlace the sink into the hole and press down to ensure the putty forms a tight seal.
Step 3: Connect the plumbing
- 1Attach the ClipsUse the provided mounting clips to secure the sink to the countertop.
- 2Reconnect Water Supply and DrainConnect the water lines and drain pipe underneath the sink.
Step 4: Test for leaks
- 1Turn On the WaterTurn the water supply back on and test the sink for leaks.
How to install a vessel sink
Vessel sinks sit on the countertop, adding a modern touch to kitchens and bathrooms. Here’s how to install one:
Step 1: Prepare the countertop
- 1Drill the HoleDrill a hole in the countertop for the drainpipe. Make sure the hole is positioned correctly for the vessel sink.
Step 2: Install the vessel sink
- 1Apply Silicone CaulkApply a bead of silicone caulk around the bottom of the sink to prevent leaks.
- 2Place the SinkPosition the vessel sink on the countertop, ensuring it sits level.
Step 3: Connect the drain and plumbing
- 1Install the DrainpipeAttach the drainpipe to the vessel sink and connect it to the plumbing below.
- 2Reconnect the Water SupplyReconnect the water lines and test the sink for leaks.
Conclusion
Installing a new sink, whether a farmhouse, pedestal, drop-in, or vessel sink, can be a rewarding DIY project that adds style and functionality to your kitchen. Following this comprehensive guide, you can install your new sink confidently and precisely.
Need professional assistance with your sink installation? Book now with Switch Your Fixture and let our experts handle the job. Enjoy a smooth installation process and a beautiful new sink in your kitchen!
Skip the ladder
Rather not do it yourself?
$159 service call with the first hour included. Kitchen and bathroom sinks are in our “over 2 hours” group.