
Wireless Security Camera Installation in San Diego: Steps and Cost

A wireless camera still needs power and a strong Wi-Fi signal where it hangs, and most failed installs come down to one of those two things. The mounting, the weatherproofing and the placement decide whether the footage is any use. If you have already bought your cameras and want them up on the wall and working, we install them for a published rate: $159 for the service call, which includes the first hour, then $39.75 per 15 minutes. This guide covers the whole job, so you know what it involves and what a good install looks like, whoever does it.
TL;DR
- “Wireless” usually means no video cable. The camera still needs power from an outlet, a rechargeable battery or a solar option, depending on the model.
- Check Wi-Fi at the exact mounting spot before you drill. Many home cameras need a 2.4 GHz network and at least 2 Mbps of upload speed.
- Outdoor cameras generally work best about 7 to 10 feet up, tilted down roughly 20 degrees, aimed so people walk across the view rather than straight at the lens.
- Port covers and plug connections are the usual weak points for water. Seal them as the manufacturer describes.
- In San Diego we install Ring, Arlo and Nest cameras you have already bought, with licensed contractors and a warranty on the installation, at one published rate.
Table of Contents
- What “wireless” actually means
- Check these four things before you drill
- Where to put the camera
- The installation, step by step
- Fixing the common problems
- When to hand the job to a pro
- What installation costs in San Diego
- Book a camera install in San Diego
- FAQ
- Sources
What “wireless” actually means
The word covers three different setups, and the difference changes how long the install takes.
Plug-in Wi-Fi cameras send video over your network but draw power from an outlet or an adapter. Manufacturer guidance notes that a Wi-Fi camera still needs power, supplied by an outlet, a rechargeable battery or a compatible solar option depending on the model.
Battery cameras are the closest to truly wire-free. You mount a bracket, clip the camera in and recharge or swap batteries on a schedule.
Solar-assisted cameras add a small panel that trickles power into the battery. They suit sunny walls and need one more weather-sealed connection.

The practical rule: before you pick a spot, decide where the power comes from. A camera that needs an outlet and has none nearby is the most common reason a “simple” install turns into a bigger project.
Check these four things before you drill
1. Wi-Fi band and upload speed
Several popular systems have specific requirements. Blink cameras require a 2.4 GHz network and at least 2 Mbps upload speed. Nest’s outdoor camera guide lists working broadband with at least 2 Mbps upload, a compatible phone or tablet, a Nest account and an indoor power outlet as prerequisites. Your own camera’s manual states its exact numbers, so read that first.
If your router is dual-band and your phone is connected to the 5 GHz side during setup, a 2.4 GHz-only camera can refuse to pair. That is a frequent cause of “it won’t connect” frustration.
2. Signal at the mounting spot, not at the router
Stucco, block walls and distance weaken a signal fast. Home Wi-Fi is often fine in the living room and poor at a back-corner eave. Abode’s installation guide says to hold the camera at the planned location and check Wi-Fi and Live View in the app before mounting. Ring gives similar advice: test at the planned spot and, if the signal is weak, move the device closer to an access point or add a range extender made for it.
3. Power
Plug-in models need an outlet in reach or a safe way to bring one. For example, Abode’s Cam 3 runs on USB-C power with the included cable and a 5V 1A adapter, and its plug connection is not weatherproof even though the camera itself is rated IP65. In plain terms, a weatherproof camera can still sit on a connection that rain will reach. Plan where the adapter lives.
4. The wall itself
Wood siding, stucco and brick each need different anchors, and a camera that sags on a loose screw points at the sky within a month. Know your wall before you buy the hardware.
Where to put the camera
Placement matters more than resolution. A sharp camera pointed the wrong way records very little of use.
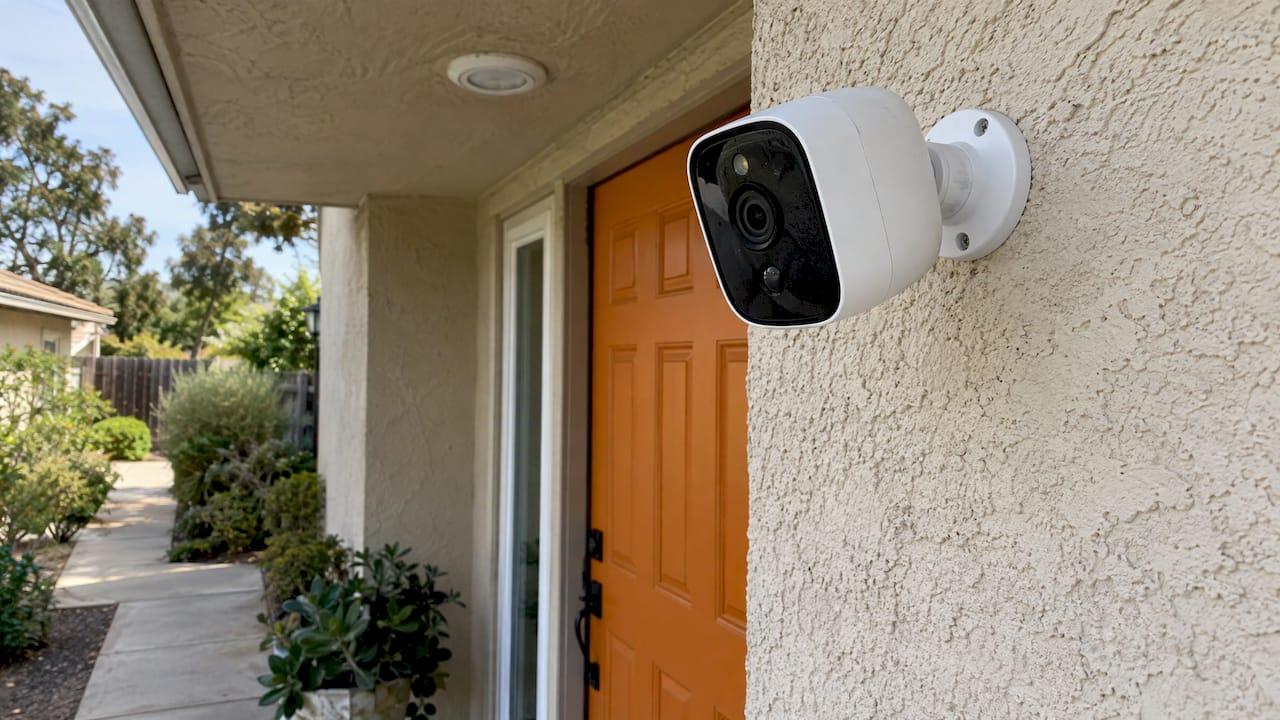
Height and angle. Ring recommends mounting outdoor cameras 8 to 10 feet high with about a 20-degree downward tilt. TP-Link’s Tapo guide suggests 7 to 10 feet with a similar tilt. High enough to be out of casual reach, low enough to see faces.
Direction of travel. TP-Link notes that motion detection improves when movement crosses the camera’s view instead of coming straight toward it. Camera sensors of this type sense a change in heat across zones, so a person walking straight at the lens can go unnoticed longer than one walking past. Aim at a walkway, not down it.
Indoor cameras. Ring advises facing indoor cameras into the room, ideally from a corner for wider coverage, and away from windows, because glass can degrade motion detection and image quality.
Privacy. Arlo’s placement guidance says to cover only the space you mean to monitor and avoid aiming at neighboring property or places where people expect privacy, such as bedrooms and bathrooms. Most apps include privacy zones that black out part of the frame. In a San Diego condo or a close-set Ocean Beach lot, your neighbor’s window is often within view of an uncorrected camera, so set the zones before you finish.
Check before and after dark. A porch that looks perfect at noon can glare from a streetlight at night. Abode’s guide suggests confirming that a recorded clip plays back, and repeating the test after dark.
The installation, step by step
Here is the routine for a typical outdoor plug-in or battery camera, with the point at which each step usually goes wrong.
Step 1: Pick the spot and mark it
Hold the camera at the planned height, open Live View on your phone and walk the area you want covered. Look for branches, porch posts and light fixtures that block the view. Mark the bracket holes with a pencil.
Where it goes wrong: choosing the spot at the router end of the house and discovering the signal drops at the real location.
Step 2: Test the signal in place
With the camera powered and on the app, check the signal bars and video smoothness at the marked spot. If it stutters, move the camera or the access point before drilling anything.
Where it goes wrong: drilling first. Patching stucco holes is a bigger job than the camera.
Step 3: Drill and anchor the bracket
Use the anchors that suit your wall material, not just the ones in the box. Keep the bracket level so the picture isn’t tilted, then adjust the angle once the camera is on.
Where it goes wrong: stripped screws in soft wood trim, or anchors that don’t bite in stucco. A camera that droops by a few degrees changes what it sees.
Step 4: Run power and seal the connection
Battery cameras skip this. For plug-in models, route the cable cleanly to an outlet and keep the plug connection out of direct rain. TP-Link warns against forcing off the silicone port cover and says unused ports should be firmly covered to preserve water resistance. For solar panels it says the waterproof gasket must be tightly sealed.
Where it goes wrong: a loose port cover or a plug left exposed. Water finds the one gap.
Step 5: Connect to Wi-Fi and the app
Power the camera, follow the maker’s steps to have the app detect it and join your network, then set motion zones, notification rules and recording options. This is the general routine: power up, pair through the app, configure motion and recording, then test live feeds and recorded footage.
Where it goes wrong: joining the wrong band, typing the network name or password incorrectly, or leaving motion sensitivity so high that every passing car sends an alert.
Step 6: Test, adjust and repeat at night
Walk across the view at different distances and confirm alerts arrive. Review a recorded clip. Then check again after dark.
Fixing the common problems
Most connection issues fall into a short list. Blink’s troubleshooting guidance points to checking the signal in the app, restarting the devices and router, confirming internet and 2.4 GHz service, and making sure the network name and password are correct after any network change.
If the signal is weak at the mounting spot, the fixes are to move the camera closer, add an access point or use the maker’s own extender. Range numbers on boxes are best-case figures. As one example, Arlo’s Pro manual gives a maximum line-of-sight range of 300 feet to its base station, reduced by walls and other obstructions. The same manual’s spacing advice, at least 10 feet from the base station and 6.5 feet between cameras, applies to that model and is not a rule for every camera.
Two habits prevent most repeat problems. Write down your network name, password and band before you start. And after any router replacement, expect to re-pair each camera.
When to hand the job to a pro
A battery camera on a low, easily reached wall is a manageable afternoon. The jobs below take more than a screwdriver:
- Second-story eaves and gable ends. Working from a ladder at 10 feet while drilling overhead is where falls happen. If ladder work isn’t comfortable, this is the time to book a technician.
- Hardwired or low-voltage power. Anything that ties into household wiring belongs to a licensed electrical contractor.
- Several cameras plus a doorbell or lights. Coverage planning across a whole house takes experience, and the app setup multiplies with each device.
- Stucco, brick or block. Drilling into masonry needs the right bit and anchors, and a bad hole is permanent.
If any of these describe your house, that is where we come in. We install the cameras you have already bought, and our contractors are licensed for electrical and plumbing work. Every installation carries a warranty, and we protect work surfaces and clean up when we finish. Our security camera installation page covers Ring, Arlo and Nest systems. If your plan includes the front door, see doorbell camera installation. For a lit-up driveway or side yard, there is motion sensor light installation.
What installation costs in San Diego
Our pricing is public: a $159 service call that includes the first hour, then $39.75 per 15 minutes. It is one rate across the services we install, so a camera costs the same per minute as a faucet.
Here is the arithmetic for a job that runs 90 minutes: $159 covers the first 60 minutes, and the extra 30 minutes is two 15-minute blocks at $39.75, or $79.50. That brings the total to $238.50. A longer job adds the same blocks. This is an illustration of how the rate adds up, not a quote: the time depends on the number of cameras, wall type and height. The pricing page has the current rates.
Hardware is separate, since you buy the cameras yourself. A useful way to plan: group the work. If you also want a ceiling fan swapped or a TV mounted, one visit covers all of it and the service call is paid once.

Book a camera install in San Diego
You bought the cameras. We mount them, power them and get them talking to your phone. Call (619) 677-8677 Monday to Friday, 8:00 AM to 5:30 PM, and you reach a real person. Or book online. Matt, a remodeler with about 20 years in the trade, started Switch Your Fixture as a focused fixture-swap service, so cameras, doorbells and lights are the daily work rather than an add-on.

If you want to see everything we install, from ceiling fans to thermostats, the full services list has it.
FAQ
Do wireless security cameras need an electrician?
Plug-in and battery models generally do not need electrical work, because they run from an outlet or a battery. Hardwired power, or adding an outlet near the mounting spot, is a job for a licensed electrical contractor. Our contractors are licensed and cover both the mounting and any electrical side.
Do wireless cameras work without Wi-Fi?
Most home cameras rely on Wi-Fi for live view and notifications, and several makers specify a minimum upload speed of 2 Mbps. Some record locally to a card, but alerts and remote viewing need the connection. Check the signal at the mounting spot before you drill.
How high should I mount an outdoor camera?
Manufacturer guidance generally lands between 7 and 10 feet, with a downward tilt of about 20 degrees. That keeps the camera out of easy reach while still capturing faces. If your planned spot needs a tall ladder, we can handle the install for you.
Can I point a camera at my driveway or the street?
You can cover your own property, and makers advise keeping cameras away from neighbors’ homes and places where people expect privacy, like bedrooms and bathrooms. Use the privacy zones in the app to block out anything beyond your boundary. Check local recording rules for audio, which can differ from video.
Sources
- Positioning doorbells and security cameras (Ring support)
- Installation and User Guide (TP-Link Tapo)
- Arlo camera placement tips
- Wi-Fi Information and Troubleshooting Guide (Blink Support)
- Nest Cam IQ outdoor installation guide
- Abode Cam 3 Installation Guide
- How to Install Security Cameras: Step-by-Step Guide (eufy)
- Arlo Pro Wire-Free HD Security Camera System User Manual